


Advanced Search
Search the Knowledgebase


| Author: Microengine Views: 16837 Created: 19-06-2015 05:00 PM | 0 Rating/ Voters |
 |
This article contains steps to migrate to xPortal2005 v1.3 database.
Applies To:
- Software xPortal2005 v1.1, xPortal2005 v1.2
 Problem Symptoms Cause (optional) Resolution Summary Resolution
Please perform steps below to solve the issue.
WARNING! Performing this steps will affect your database structure. Kindly backup your database before proceeding.
To backup database, see article How to relocate xPortal2005 database to a new PC?
To backup database, see article
- Make sure there are no existing xPortal2005 v1.3 database from the Server Location folder.
- Please remove any existing xPortal2005 v1.3 database.
- Make sure the xPortal2005 v1.1/ xPortal2005 v1.2 database already copied into Sever Location before start the migration.
- Default Server Location:
Windows Default Server Location Windows XP
Windows Server 2003
Windows Server 2003 R2C:\Documents and Settings\All Users\Application Data\MicroEngine Windows 7
Windows 8
Windows 10
Windows Server 2008
Windows Server 2008 R2
Windows Server 2012
Windows Server 2012 R2
Windows VistaC:\ProgramData\MicroEngine
- To migrate the database, please download xPortal2005 v1.3 Database Migration Tool software from the attached file at the bottom of this article.
- After finished the download, install the xPortal2005 v1.3 database migration tool.msi.

- Run the software after finished the installation.
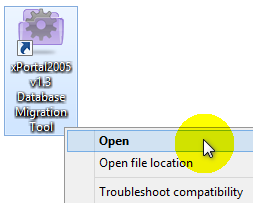
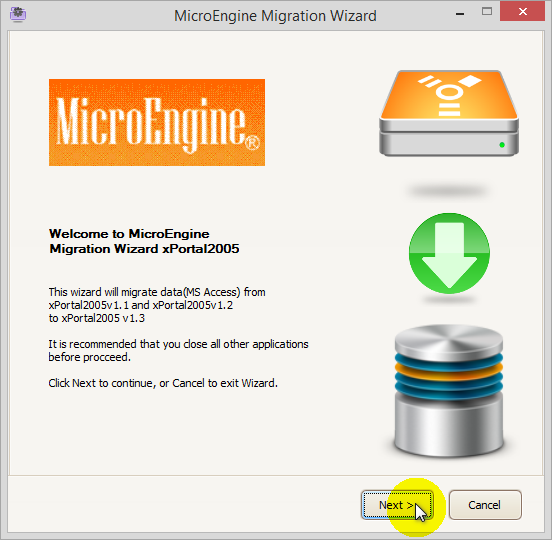
- The Migration Wizard window will be shown.
- Click Next to continue.
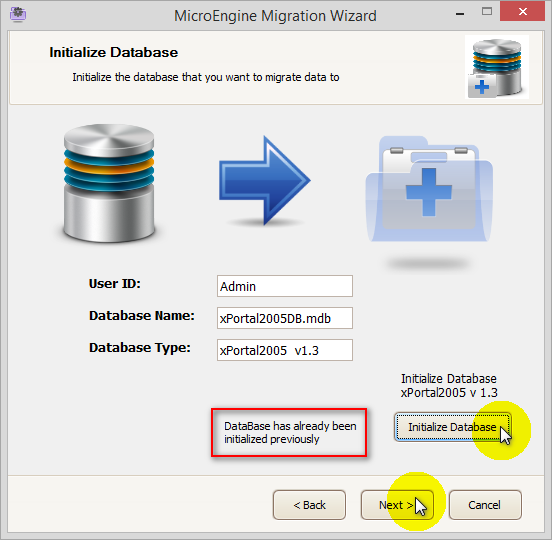
- The Initialize Database window will be shown.
- Click Initialize Database button to initialize new xPortal2005 v1.3 database.

- You should see "Done" when the database initialization is finished.
- Click Next to continue.

- If you accidentally click the Initialize Database button again, the following message will be shown.
- You may ignore the message and click Next to continue.
- The Source Program and Data window will be shown.
- Select the Source Program that you wish to migrate to.
- The option is either xPortal2005 v1.1 or xPortal2005 v1.2.
- Please ensure the Database, Transaction, Company Logo, Staff Image, Floor Plan and Time Attendance location files are correct.The location will be populated using default server location.
- You may click the browse
 button to change the location.
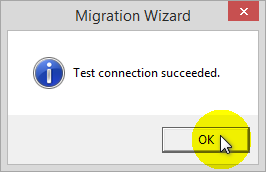
 - Click Test Connection button to ensure location files are correct.

- "Test connection succeeded" message will be shown if location files are correct.
- Click OK. Then click Next button to continue.
- The Target Program and Data window will be shown.
- Click Test Connection to make sure the xPortal2005 v1.3 folder location is correct.
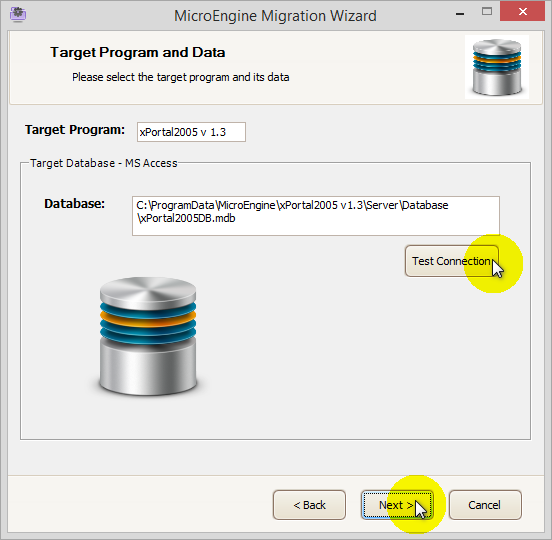
- "Test connection succeeded" message will be shown if xPortal2005 v1.3 folder location is correct.
- Click OK. Then click Next button to continue.
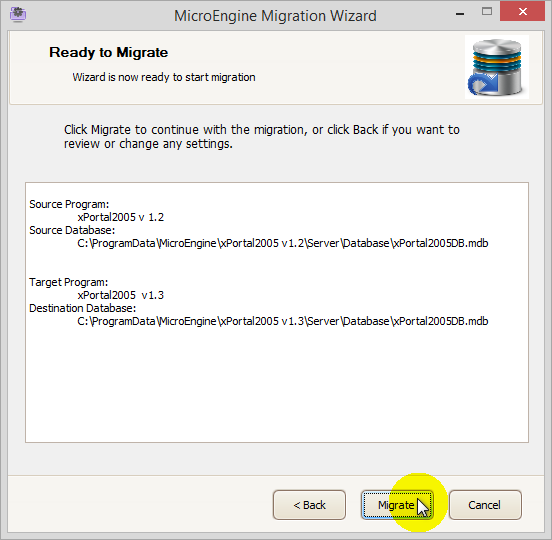
- The Ready to Migrate window will be shown.
- Please confirm the Source Database and Destination Database.
- Click Back if you want to review or change any settings.
- Click Migrate to continue with the migration.
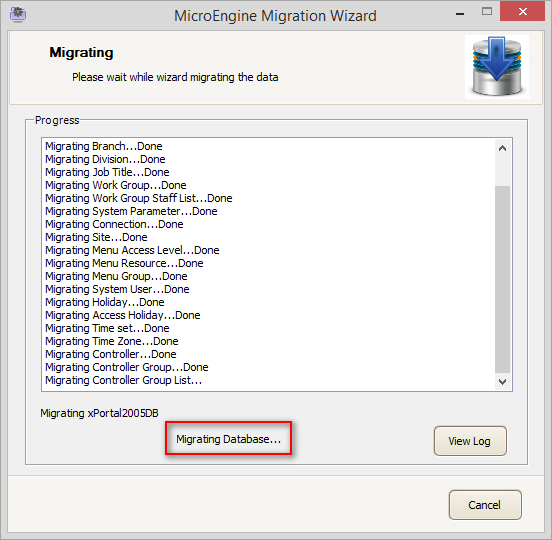
- The Migrating window will be shown.
- Please wait while wizard migrating the data.
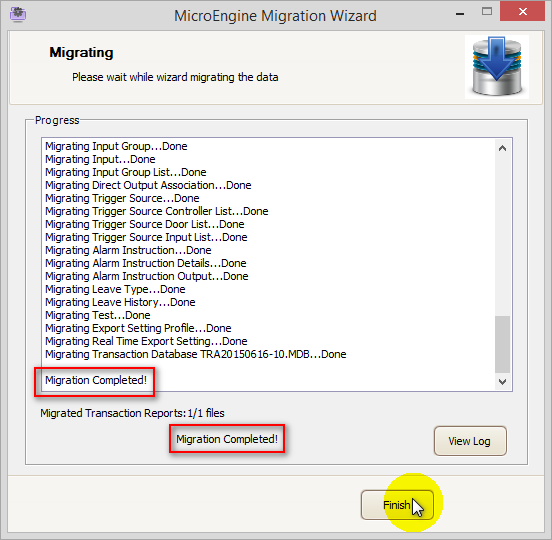
- The migration will be finished when the "Migration Completed!" is shown.
- Click Finish button to exit.
- Now the database is already migrated to the xPortal2005 v1.3.
- You can run the xPortal2005 v1.3 software if you already installed it.
- If the software is yet to be installed, you can see article How to install xPortal2005?

Custom Fields
- Summary: This article contains steps to migrate to xPortal2005 v1.3 database.
- Search Tags: xportal2005 v1.1, xportal2005 v1.2, xportal2005 v1.3, migration, database incompatible, not compatible
Comments
-
There are no comments for this article.
Submit Feedback on this Article
