


Advanced Search
Search the Knowledgebase


| Author: Microengine Views: 15289 Created: 20-07-2015 07:22 PM | 0 Rating/ Voters |
 |
This article contains steps to configure 5 Door Access Code using xPortalNet software.
Applies To:
- Software xPortalNet
- XP-SNETv4, XP-SNETGAC
 Resolution Summary Resolution
Configure the Operation Mode of the XP-SNET board.
- Check the wiring connection of the XP-SNET controller. See article
 Wiring connection diagram for XP-SNET.
 - Set the Setting Dip Switch to Address 3 (For Door Access).
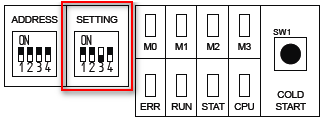
Enable the setting to allow 5 Door Access Code feature.
- Login to xPortalNet Server.
- Open System Properties. Go to Server Admin › System Properties.
- Click Modify.
- At Card User Controlled by Multiple Door Access Code, select Yes to enable.
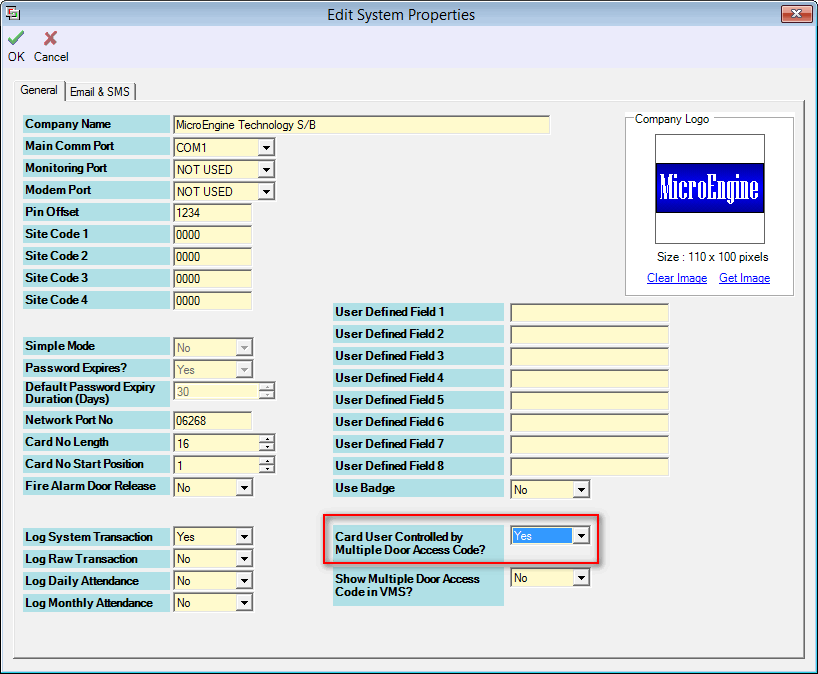
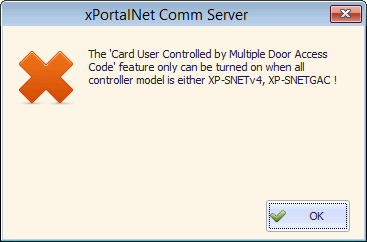
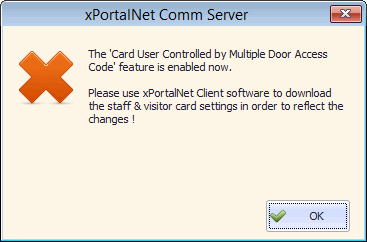
- If you get the following message, please make sure that the only existing controller from your controller list is either XP-SNETv4/ XP-SNETGAC only. Otherwise, please remove other controller's model first before can turn on the settings again.
- Click OK to confirm and save the changes. The "Record Updated" message will be shown.
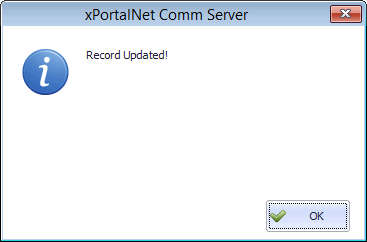
- The following window will be shown after record updated.
- Login to xPortalNet Client to download the Staff & Visitor Card Settings in order to reflect the multiple door access code setting changes.
- Login to xPortalNet Client.
- Send Staff & Visitor Card Settings.
- Open Send Staff Setting/ Send Visitor Setting. Go to Device Comm › Send Staff Setting/ Send Visitor Setting.
- Select controller name then click Send All button.
- By default there is only 000-No Access or 001-Free Access door accessibility.
- You also can create new door accessibility.
- Perform the following steps before proceed to assign the Door Accessibility.
- Step 1 - Set Time Set: See How to configure Time Set in xPortal Client software?
- Step 2 - Set Time Zone: See How to configure Time Zone in xPortal Client software?
- Step 3 - Set Door Accessibility: See How to configure Door Accessibility in xPortal Client software?
- To assign multiple door access code, open Staff Records. Go to Data Setup › Access Data Setting › Staff Records.
- Click Add button to add new staff records or Modify to set the door accessibility code on existing records.
- In Add Staff Detail/ Edit Staff Detail, select the Door Accessibility tab to select the Door Access Code for the staff.
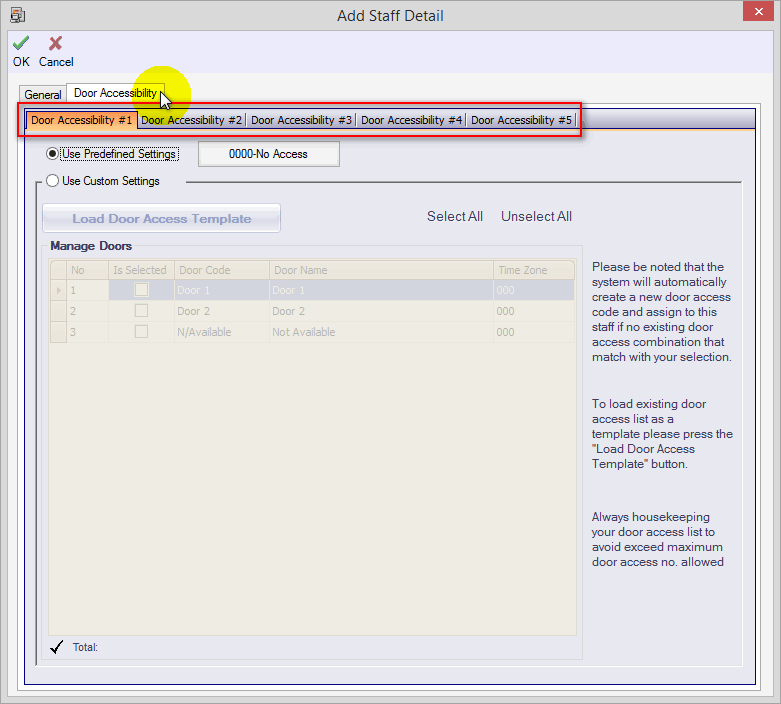
- There are 5 available Door Access Code to be select.
- No Access is the default Door Access Code. Please select the door access code accordingly.
- If you set all Door Accessibility to No Access, the following window will be shown upon saving the settings.
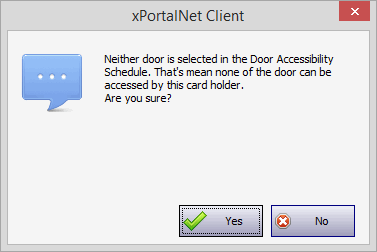 None of the door can be accessed by the card holder.
 - Click No to assign the Door Accessibility.
- Select Use Predefined Settings by clicking the button next to it.
- The following window will be shown.
- Select your preferable Door Accessibility, then click OK.
 You may notice that the Door Accessibility shown is different. The list shown is according to the record added in Door Accessibility Setup.
 - Repeat steps 4-6 for other available Door Accessibility.
- At General tab, please complete the other necessary staff records.
- Click OK to confirm and save the changes.
- Send Staff Setting. Go to Device Comm › Send Staff Setting.
- Flash card at the door to check the accessibility.
Check all Door Accessibility (1-5) for each door. If there is at least 1 door can be access from all fives door accessibility, user can access that door.
| Door Accessibility/ Condition | Outcome | |
|---|---|---|
| Door Accessibility #1 Door 1: Valid Access Door 2: No Access Door 3: No Access Door 4: No Access | Valid Access to Door 1 | |
| Door Accessibility #2 Door 1: No Access Door 2: Valid Access Door 3: No Access Door 4: No Access | Valid Access to Door 2 | |
| Door Accessibility #3 Door 1: Valid Access Door 2: No Access Door 3: Valid Access Door 4: No Access | Valid Access to Door 1 & Door 3 | |
| Door Accessibility #4 Door 1: No Access Door 2: No Access Door 3: No Access Door 4: No Access | No Access | |
| Door Accessibility #5 Door 1: No Access Door 2: No Access Door 3: No Access Door 4: No Access | No Access | |
Valid Access (001-Free Access/ Different Valid Timezone is applicable)
Based on above Door Accessibility list, the final outcome is the user can access at Door 1, Door 2 and Door 3 only.
| Knowledge Base by: KnowledgeBase Manager Pro v6.2.2 (Built with: JS.GUI - Rich Internet Applications) |
Custom Fields
- Summary: This article contains steps to configure 5 Door Access Code using xPortalNet software.
- Search Tags: door access code, xportalnet, 5 door access, snet, snet v4, snet gac
Related Articles
Comments
-
There are no comments for this article.
Submit Feedback on this Article
